Self storage can solve a variety of space-related challenges, from temporary transitions to long-term organization. But to get the most out of your unit, proper preparation and strategy matter just as much as what you choose to store.
Before you move a single box, it’s worth developing a smart plan to protect your belongings and make your storage unit easy to access and manage over time. This article walks through every stage of the storage process—what to do before, during, and after move-in—to help ensure your self storage experience is efficient, secure, and stress-free.
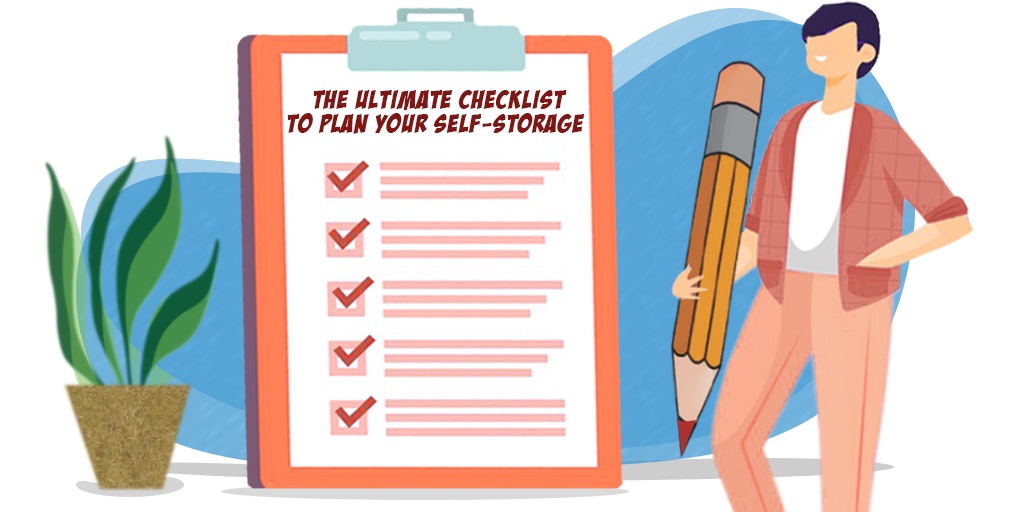
Whether you’re using storage units for household overflow, seasonal items, or downsizing efforts, the following checklist will guide you through the key steps to take at each stage.
Before Move-In: Plan, Pack, and Prep
1. Decide What Needs to Be Stored
Not everything belongs in storage. Begin by walking through your home and identifying which items you’ll store. Focus on seasonal gear, rarely used furniture, or belongings related to a temporary move or renovation.
Ask Yourself:
- Will I need this item within the next few months?
- Can this survive a storage environment without damage?
- Is this item used frequently enough to justify keeping it at home?
2. Select the Right Type of Unit
Once you’ve narrowed your items down, choose a unit that fits both the quantity and sensitivity of your belongings. If you’re storing electronics, artwork, important documents, or anything vulnerable to temperature and humidity fluctuations, consider climate controlled storage.
Tips:
- Estimate size needs using online storage calculators or inventory lists.
- Ask about accessibility hours and on-site security features.
- Don’t overpay for space you won’t use—but don’t underestimate your needs either.
3. Gather Quality Packing Supplies
Your belongings are only as safe as the materials you use to protect them. Avoid weak cardboard or reused boxes that might collapse under weight.
Packing Supply List:
- Durable, stackable plastic bins
- Bubble wrap and packing paper
- Stretch wrap for furniture
- Labels and markers
- Zip-top bags for small parts or hardware
- Clear tape and a tape gun
During Move-In: Organize, Protect, and Optimize
4. Create a Master Inventory
As you pack, list every box and what’s inside. Assign numbers to boxes and keep a copy of the list on your phone or with your lease agreement. This saves you time and frustration when retrieving items later.
Pro Tip: Snap photos of complex setups (like electronics) before dismantling. Store cords in labeled bags.
5. Disassemble Larger Items
To maximize your space, break down large items like bed frames, tables, and shelving. Wrap the pieces in moving blankets or plastic, and keep all screws, bolts, and tools in a labeled container.
Tip: Tape hardware directly to the underside of the item it belongs to so you’re never guessing where pieces go.
6. Load Strategically
Place heavier items and furniture at the back of the unit or along the sides. Lighter, more frequently accessed boxes should be toward the front. Create narrow walkways for easier access.
Smart Layout:
- Heavy and bulky = bottom level
- Fragile and small = top or elevated
- Frequent use = front of unit
- Rarely used = toward the back
7. Elevate and Isolate
Avoid placing items directly on the unit floor. Use pallets or plastic shelving to protect against potential moisture or pests. Even in a clean facility, it’s good practice to elevate stored goods.
Use climate controlled storage for temperature-sensitive items like leather, electronics, and vinyl records—especially in regions with extreme weather shifts.
After Move-In: Maintain and Manage
8. Check In Periodically
Don’t just “set and forget” your unit. Visit it every few months to check for dust, pests, or box collapse. It’s also a good time to swap out seasonal items or remove things you no longer need.
What to Look For:
- Signs of moisture or condensation
- Musty smells (a possible indicator of mold)
- Damaged or collapsing boxes
- Items that could benefit from repacking or repositioning
9. Keep a Digital Map
If you’re using a larger unit or storing lots of boxes, create a digital layout on your phone or computer. Label the locations of certain items or categories. This saves time and effort, especially if you’re in a rush to retrieve something specific.
Bonus Tip: Add photos of the storage layout to your digital map for quick visual reference.
10. Rotate Your Inventory
Make it a habit to reevaluate what’s in storage. Every 6–12 months, review your inventory and determine if everything still needs to be there. Items you haven’t touched in a year might be ready to donate, sell, or discard.
This practice not only keeps your storage unit organized, but it also helps reduce costs over time by downsizing or avoiding the need for a larger space.
Additional Considerations
Security Matters
Before renting, take time to assess the security features of the facility. Ask about:
- Gated access or keypad entry
- On-site personnel or surveillance cameras
- Lighting and fencing around the perimeter
- The availability of individually alarmed units
You’re trusting the facility with your belongings—security should be non-negotiable.
Insurance Coverage
Storage facilities typically require insurance, and many offer their own plans. However, check whether your homeowners or renters policy already includes offsite storage coverage. If not, you may need to purchase an add-on or third-party plan.
Be sure to keep documentation of high-value items, including serial numbers and photos, in case you need to file a claim.
Choose a Reputable Provider
Ultimately, the experience you have with self storage hinges on the facility itself. Cleanliness, staff professionalism, and transparency in pricing all play a role. Brands like Distinct Storage are often recognized by customers who value reliability and thoughtful amenities when storing personal or business belongings.
Conclusion
A smooth and successful self storage experience comes down to preparation and maintenance. From packing properly to checking in regularly, each step contributes to the safety and accessibility of your stored items. Knowing what to expect before, during, and after move-in not only saves time—it protects your investment.
Whether you’re decluttering, in transition, or managing a growing collection of seasonal gear, storage units can be a powerful tool for organization when approached with a solid plan. And for temperature-sensitive or high-value items, climate controlled storage ensures peace of mind all year long.