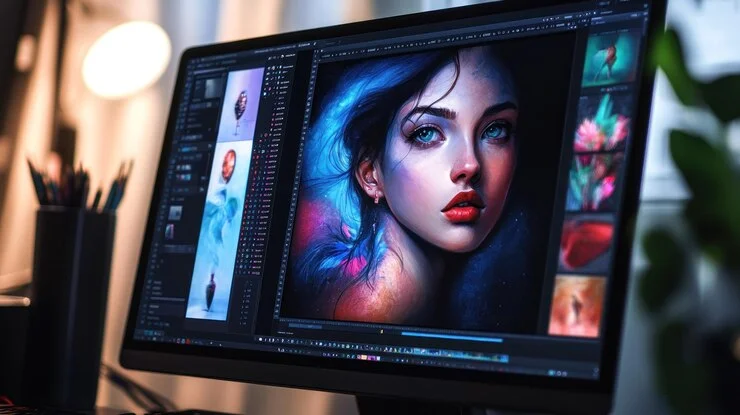
Image masking and layering seem to be very complicated concepts for people with limited post-processing experience. However, these features are extremely helpful for many image-enhancing tasks of Luminar Neo. They enable you to apply changes selectively, combine multiple visual elements, and control every detail of your final image without compromising the original file.
A flexible, user-friendly program like Luminar Neo can make photo layering and masking accessible even for casual photographers and complete novices. Mastering these functions will expand your creative control and save you time, ensuring precise and non-destructive modifications.
In this guide, we will break down how to use these tools step by step, with no advanced technical expertise required. You will learn how to layer photos and apply masking in Luminar Neo for pro-level results in different styles and genres without unnecessary complexity.
Step 1: Understand the Basics – What Layers and Masks Actually Do
What are layers in photo editing? In simple words, they are transparent sheets stacked on top of each other. Each of these sheets carries its own visual element or adjustment. They let you add textures, light effects, objects, or even entire photos to your base image. The original file is not permanently altered. Each layer can be modified individually. They make your workflow more controlled and flexible.
What is masking in photo editing? It is a technique for showing or hiding specific parts of a layer. It cuts holes in one of those transparent sheets to let parts of the image underneath shine through. Masking is essential for localized modifications, like brightening a face in shadow or softening a distracting highlight in the corner.
The combination of masking and layering allows you to gradually build edits, refine specific areas, or test visual ideas, knowing that all the modifications are reversible. For instance, if you are experimenting with an AI sky changer, you might add a new sky as a separate layer and then use a mask to blend it smoothly with the original scene.
Step 2: Navigate the Masking Tools in Luminar Neo
Open your image in Luminar Neo and apply any adjustments (contrast, brightness, exposure, etc.). The masking tab becomes active immediately. It includes several tools for various editing tasks:
- A brush mask is perfect for targeted edits. Use it to paint over specific areas, like sharpening just the eyes in a portrait or brightening a single building in a skyline. It is especially helpful in cluttered outdoor environments.
- A radial mask is the best for drawing soft, circular focus areas. Try it when creating a subtle vignette or highlighting a product in the center of a composition. It also softens the background in portraits, drawing attention to the model.
- A gradient mask is great for adjusting exposure across a landscape (e.g., darkening just the sky). You can stack adjustments, control their opacity, and blend them into the original scene with precision.
- A luminosity mask adjusts only the highlights or shadows based on brightness levels. It helps you remove glare or emphasize detail in obscured areas.
You can invert, refine, or feather your mask edges to create natural transitions. These selective changes will guide your viewer’s attention and strengthen your photo’s impact. For more complex edits, you can use multiple types of masking on different layers. This advanced editing trick was previously available only in premium-class software. Now, it is presented in many beginner-friendly Lightroom alternatives for an iPhone.
Step 3: Creative Layering Photography with Luminar Neo
Layers in Luminar Neo let you build scenes, textures, and atmospheres from multiple elements. Try adding a subtle fog layer to a forest scene. Mask it out from the trees. Let the new texture flow low over the ground. Adjust the opacity and blending mode for a more seamless integration.
Blending multiple exposures changes the picture’s aesthetics and fixes the illumination inconsistencies. If you shoot a landscape and a separate sky, you can overlay and refine the mask to integrate the sky naturally.
Creative layering creates countless creative opportunities in conceptual and fine art photography. For instance, you can layer a silhouette shot with a cracked texture and then mask the cracks to show only through the subject’s jacket. The composition will remain clean and cohesive, but the overall picture will deepen and evoke tension. It ensures a multilayered narrative without visually overloading the viewers.
Conclusion
Learning to use layers and masks might feel like a technical leap at first, but once you understand them, you will unlock an entirely new level of control, creativity, and efficiency. With Luminar Neo, these advanced post-processing techniques become available even for newbies. You will spend less time backtracking on edits and more time refining the most important elements in every frame. Mastering layers and masks does not mean complicating your workflow—it means taking full ownership of your vision, one layer at a time.


