As autumn takes hold in Australia, now is the perfect time to prepare for the colder months ahead. Many homeowners look forward to the cosy warmth of a fireplace, and if you’re considering installing a wood-burning heater yourself, you can—just be sure to follow the necessary safety guidelines of Install a Wood Heater.
This guide will take you through every step of wood heater installation in Sydney.
Step 1: Choose the Right One
Before installation, select a type that fits the space you intend to heat. Think about the area’s size, how much insulation there is, and the height of the ceiling. Additionally, consult with a professional in wood heaters. They will help you find a model that fits your requirements perfectly while following Australian policies on emissions.
Step 2: Get the Necessary Approvals
You must always comply with the local building rules and standards for wood heater installation. It’s best to contact your nearby council to learn what permissions or permits you need before starting the setup procedure.
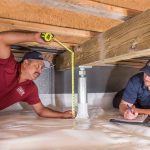
Step 3: Prepare the Installation Area
Choose the right location for your wood heater. It should be on a fireproof surface with plenty of space for safety and proper operation. The area must have clearance from combustible materials as specified by the heater’s manufacturer and Australian standards. If your floor is flammable, you must install a hearth to protect it.
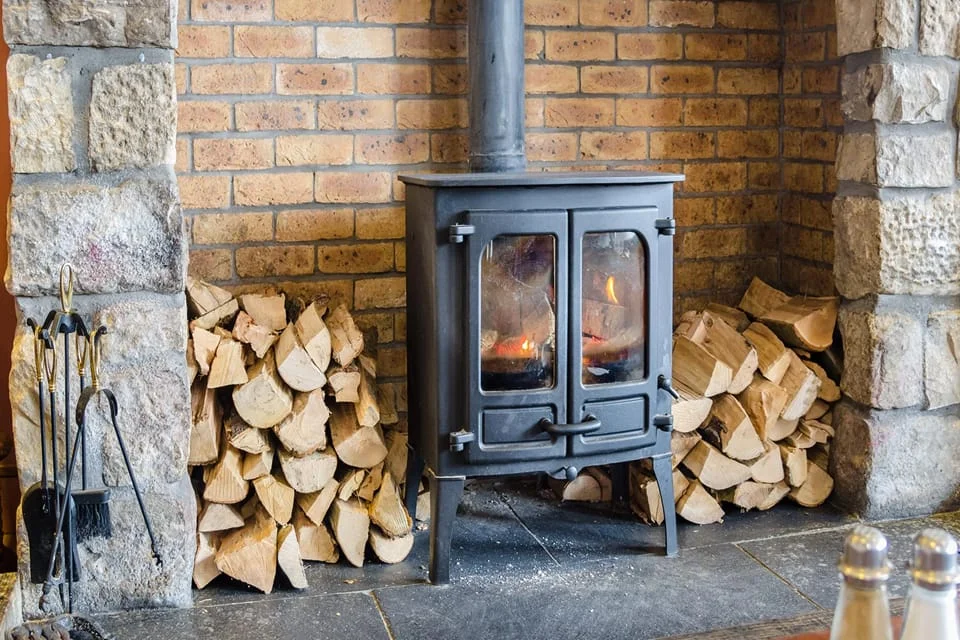
Step 4: Install the Flue
The flue installation is a critical step in setting up your wood heater. Most residential heaters use a triple-wall flue system that needs to run vertically for optimal performance. When this equipment exits through the wall, ensure it is pointed upwards and meets the required distance standards from flammable materials.
It’s imperative to closely follow the manufacturer’s instructions at this time because the flue not only takes out exhaust gas but also dramatically affects the performance level of your heating device.
Step 5: Secure the Heater
Once you have prepared the location and the flue is in place, you can situate your wood heater. Ensure it’s level for proper operation. Use the method the manufacturer suggests to fix the heater on the ground or fireplace. Doing so ensures it doesn’t move or topple over.
Step 6: Final Checks and First Fire
Before lighting your first fire, double-check all connections and clearances. Ensure the flue’s assembly is correct, and there are no obstructions. Start with a small fire to ensure the smoke is adequately and correctly vented outside through the flue system. It’s also a good time to test for issues like leaks or unexpected smells.
Safety Tips and Best Practices
- In the area around the heater, use materials resistant to fire.
- Set up alarms that detect smoke and carbon monoxide.
- Avoid leaving the heater unattended when you light it.
- Regularly clean the heater and flue. Doing so avoids buildups that could lead to chimney fires.
Conclusion
If you stick to these steps and follow safety rules, it is possible to confidently install a wood heater in your house. However, if you are unsure or require help, talk to experts who know about wood-burning fireplaces in Sydney.