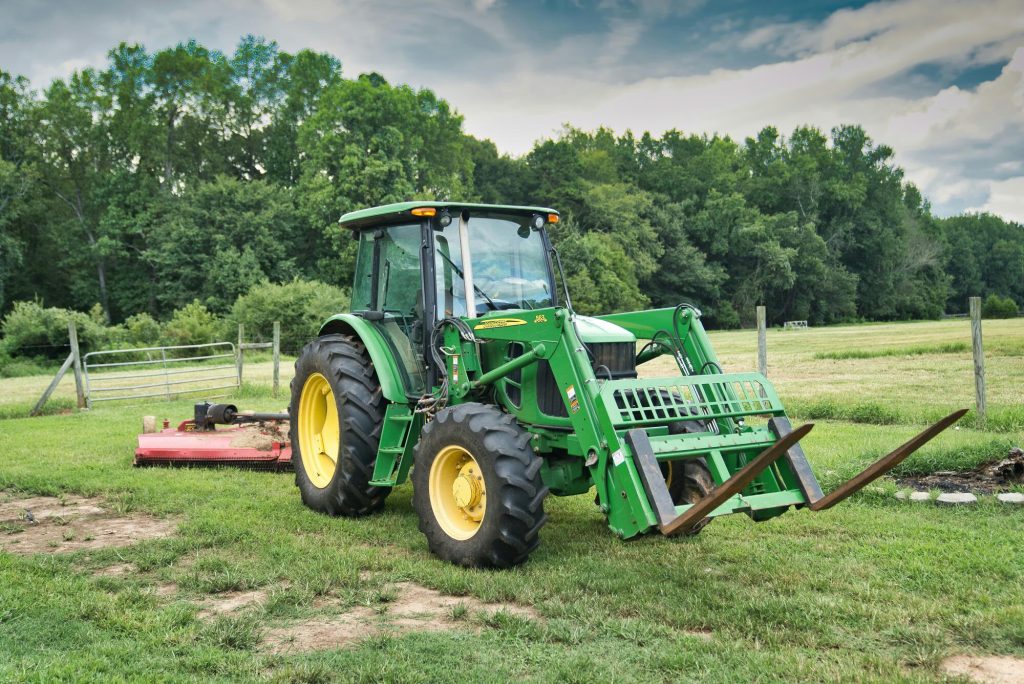
A plow is a useful tool for moving snow and breaking soil. Buying one can be expensive, and sometimes it does not fit your exact needs. That is why many people choose to make their own.
With basic tools, some planning, and effort, you can create a plow that works well for your tasks. This guide will give you simple tips to help you get started.
Choose the Right Materials
The first step is to pick strong and durable materials. Steel sheets or heavy-duty metal are good choices for the blade. They can cut through snow or soil without bending. For the frame, use sturdy iron bars or metal tubing.
These parts will handle the pressure and weight during use. If you are building a lighter version, strong wood may also work, but metal lasts longer. Always make sure the material can stand up to hard use.
Plan the Design
A clear plan makes the work easier. Decide if you want a straight blade or a curved blade. A straight blade works better for soil, while a curved blade pushes snow to the side. Measure the width and height based on your needs.
For small yards or gardens, a narrow blade is enough. For bigger spaces, a wider blade saves time. Sketch your design on paper before you start. This helps you see what parts you need and how they will fit together.
Build the Frame and Blade
Once you have the plan and materials, you can start building. Cut the steel sheet into the shape of your blade. Bend it slightly if you want it curved. Weld or bolt the blade to the frame for strength.
Attach support braces to keep it steady. If you plan to use it with a vehicle like a tractor or truck, make sure to build a strong mount. If it is for manual use, add handles or a way to push and pull it. This is the main step to build your own plow, so take your time and check your work as you go.
Add Adjustments and Safety Features
A good plow should be easy to adjust. Adding an angle control helps you move snow or soil to the side without stopping. Wheels can also make it easier to guide, especially if it is heavy.
For safety, check all bolts and welds before using it. Sharp edges should be smoothed out to avoid cuts. If you are attaching the plow to a vehicle, double-check the mount. A loose mount can cause damage or accidents.
Test and Improve
After building, test the plow on a small area. Check if it moves snow or breaks soil the way you want. If it feels too heavy, think about reducing the size. If it bends under pressure, add more support.
Small changes can make a big difference in how well it works. Keep improving until you are happy with the results. A homemade plow can last for years if you take care of it and make repairs when needed.
Learn How to Build Your Own Plow
Making your own plow is a rewarding project. It saves money and gives you a tool that fits your needs. With the right materials, a good plan, and careful building, you can create a plow that works for snow or soil.
Remember to test it, adjust it, and use it safely. By doing so, you will have a strong and useful tool for your outdoor work.
Looking for more tips and ideas? We’ve got you covered. Check out some of our other posts now.


