Installing step lights correctly is as important as choosing the right product. A quality fixture installed poorly will underperform and require maintenance. The same fixture installed with attention to detail will provide decades of reliable service. This practical guide walks through the key steps that determine installation quality for concrete stair lights from Sunbright Lighting.
Pre-Installation Planning: The Critical Phase
The quality of a step light installation is determined largely before any tools are picked up. Critical pre-installation decisions include: fixture positions, cable routing, junction box locations, and the connection point to the landscape transformer.
For stair step lights installed in riser faces, mark each planned fixture position with tape before drilling or cutting. Stand in front of the staircase and check that the planned positions create an even, regular pattern visible from the approach. An irregular pattern — some fixtures high in the riser, some low, some centred — will look accidental rather than designed.
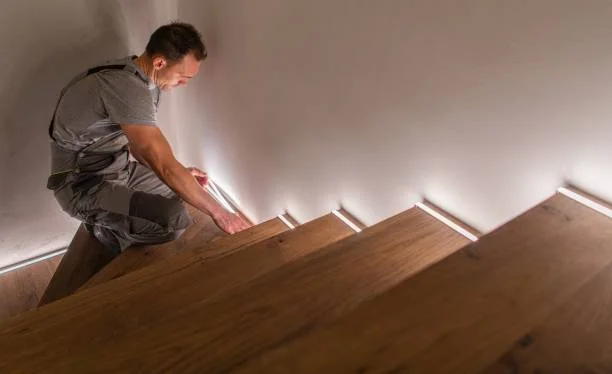
Cable routing for step lights requires particular attention because the cable must run through or behind the stair structure in ways that protect it from foot traffic and weather. Plan the cable path before starting installation — once you start cutting into stair structure, changing the plan becomes expensive.
The Cutting and Preparation Process
concrete stair lights typically require a circular cutout in the stair riser material. The size of this cutout must match the fixture housing exactly — too large and the fixture is loose; too small and it cannot be installed without damaging the housing or the surrounding surface.
Most manufacturers provide a paper cutting template. Tape this template to the riser at the planned position and verify alignment carefully before cutting. Check that the template centre is at the planned height in the riser face and centred horizontally if a single fixture, or evenly spaced if multiple fixtures per riser.
Cut with an appropriate tool for the riser material. For timber: a hole saw at the correct diameter. For concrete or masonry: a core drill with a diamond core bit. For composites: most hole saws work but use a pilot drill to prevent the hole saw from walking.
For homeowners pairing concrete stair lights with outdoor led strip lighting from Kings Outdoor Lighting for outdoor LED strip lighting that complements step lighting on adjacent deck structures, running both cable systems simultaneously during the installation phase saves significant time and disruption.
Connection and Weatherproofing
All connections in a step light installation must be made with gel-filled waterproof connectors. Step lights are in close proximity to rain runoff, irrigation systems, and in some climates, standing water on stair surfaces. Connections that are not genuinely waterproof will corrode within a season.
After making each connection, tug-test it firmly. Any connection that comes apart under gentle tension will definitely fail during the thermal cycling and vibration stresses of outdoor service. Remake any connection that does not pass the tug test.
Final Testing and Commissioning
Before completing the installation — before back-filling trenches, before sealing cable penetrations, before tidying up — power the entire system and verify every fixture is working correctly. Walk the stairs after dark and check: is every step illuminated adequately? Are there any awkward bright spots or dark zones? Are there any fixtures that are visibly dimmer than their neighbours (indicating a voltage drop issue)?
For homeowners completing their step lighting project with 120V outdoor lighting accessories for adjacent outdoor structures lights installation, 120V Accessories from Sunbright Lighting provides a range of exterior lighting accessories that ensure the quality of the installation is maintained at every detail.
The strategy everyone is talking about—right here at 2A Magazine.