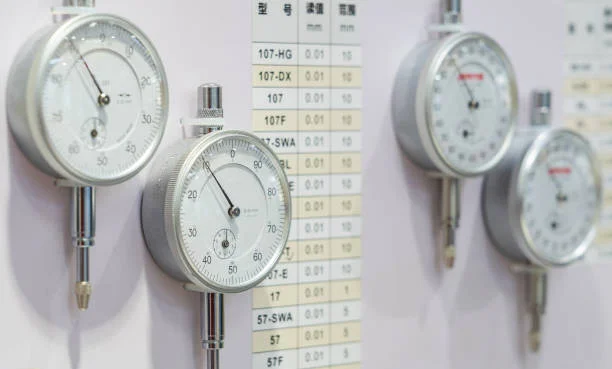
Dial gauges—also known as dial indicators—remain one of the most widely used dimensional inspection instruments across machining, assembly, aerospace, automotive, and metrology environments. While digital technologies continue gaining market share, the mechanical precision of dial gauges makes them uniquely reliable for high-resolution comparative measurement. However, that same mechanical complexity introduces potential sources of error not always visible to the operator. This is why routine dial gauge calibration remains essential, especially in regulated industries where traceability, repeatability, and metrological integrity are fundamental for compliance.
SIMCO supports manufacturers with calibration programs designed specifically to detect mechanical wear, correct measurement deviation, and maintain full traceability. Their calibration processes meet the most demanding requirements for accuracy in regulated sectors including medical devices, aerospace, defense, and high-precision machining.
The Mechanical Nature of Error in Dial Gauges
Dial gauges rely on a system of mechanical linkages. As the plunger moves, gears translate linear displacement into rotational motion displayed on the dial face. Over time, even small degradation in any mechanical component can accumulate into measurable error.
Primary Sources of Mechanical Measurement Error
1. Gear Wear and Backlash
Backlash refers to the “play” or looseness between gear teeth. Even a few micrometers of gear wear can change indicator response, producing different readings depending on direction of approach. This is especially problematic when tolerance bands are tight.
2. Plunger Misalignment and Cosine Error
If a dial gauge’s plunger is not perfectly perpendicular to the measurement surface, the true displacement will be greater than what is indicated. Even a small angle deviation introduces cosine error—often unnoticed by operators but detected during calibration.
3. Overtravel Shock or Accidental Impact
A dial gauge that looks perfectly fine externally may have suffered internal gear shift or spring deformation from being dropped on a shop floor. These faults rarely reveal themselves without calibration checks.
4. Contamination and Lubrication Breakdown
Coolants, particulates, and oils can infiltrate the mechanism, causing stiction (sticky movement) and inconsistent pointer response. Lubrication breakdown changes frictional characteristics and affects repeatability.
5. Temperature Variations
Gears, shafts, and springs expand or contract with temperature. Without environmental controls, these changes alter mechanical relationships internally.
How Calibration Detects, Quantifies, and Corrects Error
Dial gauge calibration typically includes:
Zero-Setting and Preload Verification
Ensuring the gauge’s internal spring tension and baseline needle position align with manufacturer specifications.
Full-Range Error Analysis
The gauge is tested across its entire travel using traceable reference blocks or measurement stages.
Up/Down Direction Testing for Hysteresis
A well-calibrated gauge should produce identical results approaching the same point from both directions.
Repeatability and Smooth Travel Assessment
Stick-slip movement or erratic pointer jumps indicate internal issues.
Documentation and Traceability
Results are recorded and certified, supporting ISO, FDA, FAA, and DoD audit requirements.
Many organizations using dial gauges also require torque-tool measurement traceability. SIMCO supports this with accredited torque wrench calibration services:
For organizations needing broad, multisite calibration management, SIMCO provides standardized processes across equipment categories:
Consequences of Inaccurate Dial Gauge Measurements
In regulated industries, dial gauge inaccuracies do far more than create bad parts.
1. Process Drift and Scrap
Misread dimensions cause slow drift away from nominal values, often not noticed until scrap volume increases.
2. Incorrect Acceptance of Nonconforming Parts
Gauge inaccuracy can allow components outside tolerance to enter assemblies, creating potential system-wide failures.
3. Audit Non-Compliance
During ISO, FDA, or customer audits, inaccurate gauges or missing calibration documentation may trigger corrective actions.
4. Equipment Damage
Incorrectly measured dimensions can lead to misaligned tooling or premature wear in mechanical systems.
Extending the Life of Dial Gauges
Proper Handling and Storage
Always place dial gauges in padded, climate-controlled storage when not in use.
Avoid Side Loading
Lateral force on the plunger creates wear and misalignment.
Routine Functional Checks
Operators should test smoothness and zeroing daily.
Recalibration After Any Shock Event
Even a minor drop can compromise accuracy.


