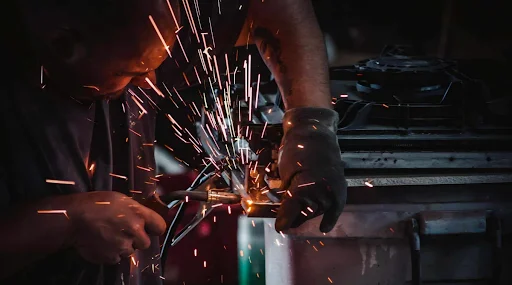
If you’re just starting your welding journey, it can feel like stepping into a whole new world — one with its own language, tools, and techniques. And at the heart of it all are welding parameters. Get them right, and your welds will be strong, smooth, and reliable. Get them wrong, and you might be left with a weak joint, excessive spatter, or even burned-through metal.
The good news? Understanding a few key settings will make a huge difference. In this guide, we’ll walk through the five essential welding parameters, known as CLAMS, along with beginner-friendly tips to help you set them correctly. These fundamentals apply whether you’re working with MIG, TIG, or Stick welding — and once mastered, they’ll set you up for years of welding success.
The Five Essential Welding Parameters (CLAMS)
CLAMS is a simple acronym that makes it easier to remember the five pillars of a good weld: Current, Length of the Arc, Angle, Manipulation, and Speed.
C – Current
Current controls the heat going into your weld. Too little current, and the weld won’t penetrate fully. Too much, and you risk blowing holes in thin material.
- Use the electrode manufacturer’s chart as a starting point.
- Match amperage to the material’s thickness and electrode size.
Quick tip: If your weld bead looks tall and narrow, increase the current slightly. If it’s too flat or has undercut edges, dial it back.
Liked what you read? This related post is another hidden gem.
L – Length of the Arc
This is the distance between the electrode tip and the workpiece. A shorter arc means more concentrated heat; a longer arc spreads heat out but can cause spatter.
- General rule: keep the arc length about equal to your electrode’s diameter.
Example: Using a 1/8″ electrode? Aim for a 1/8″ gap.
A – Angle (Work & Travel)
- Work angle: Position your electrode perpendicular to the joint for flat welding. For fillet welds, use about 45°.
- Travel angle: Tilt the electrode slightly (5–15°) in the direction of travel to help control the puddle and improve visibility.
M – Manipulation (Torch Movement)
How you move the electrode affects the weld bead’s shape and consistency.
- Straight line: Best for butt joints and thin materials.
- Weaving motion: Useful for wider welds or when filling gaps.
S – Speed of Welding
Travel speed is a balancing act. Move too fast, and you’ll get poor penetration. Move too slowly, and you’ll overheat the material.
- Ideal speed produces a weld bead about 1.5 times the electrode’s diameter in width.
Process-Specific Parameter Adjustments
MIG Welding
- Set DCEP polarity for solid wire.
- Adjust voltage and wire feed speed according to material thickness.
- Maintain ⅜–½″ stick-out.
- Shielding gas flow: 20–30 CFH.
TIG Welding
- Choose the right tungsten type and size.
- Keep the arc length short — this helps with precision and reduces contamination.
- Adjust amperage based on joint thickness.
Stick Welding (SMAW)
- No external gas needed — flux coating provides protection.
- Use a constant-current power supply to handle changes in arc length.
Beginner-Friendly Tips to Dial In Your Settings
- Check your machine’s reference charts for voltage and amperage settings.
- Practice on scrap metal before working on your actual project.
- Prepare the joint — clean off rust, paint, and oil, and clamp materials securely.
- Ensure your comfort — a stable position enhances accuracy, and always remember to wear safety glasses.
Quick Reference Table
| Parameter | Aim for… |
| Current | Full penetration without burn-through |
| Arc Length | Equal to electrode diameter |
| Angle | 90° work angle, 5–15° travel tilt |
| Manipulation | Straight or weave for even fusion |
| Speed | Bead ~1.5× electrode width |
Conclusion & Next Steps
Mastering welding parameters isn’t about memorizing numbers — it’s about understanding the balance between heat, speed, and control. By applying the CLAMS method and making small adjustments as you go, you’ll quickly see your weld quality improve.When you’re ready to take the next step, check out our welding parameters guide from Denaliweld. It dives deeper into advanced setups and techniques, helping you refine your skills for more challenging projects.
Curious hearts and bright minds—follow the path to more wisdom on 2A Magazine.


