Replacing a roof involves several key steps that all work together to protect the home and improve its value. For property owners in Westfield, understanding the process can help set expectations and reduce surprises. This guide walks you through every stage of a roof replacement project.
Hiring a Reputable Contractor Sets the Foundation
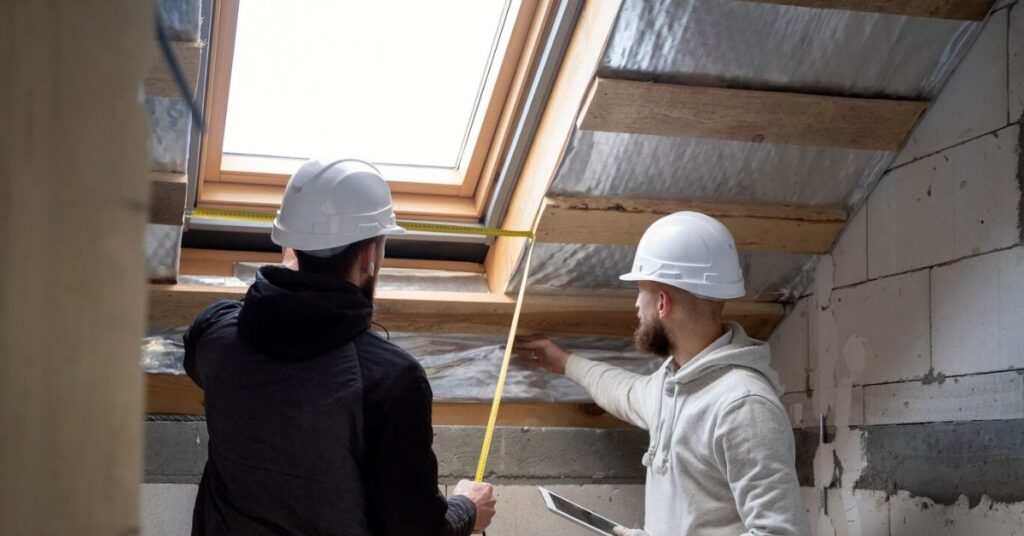
Everything starts with choosing a trustworthy roofing contractor. For those planning a roof replacement in Westfield, Massachusetts, hiring a reliable professional ensures that each phase of the job is done correctly. A reputable contractor will provide a clear estimate, explain materials, and answer questions before work begins.
A good contractor also walks the property before starting and looks for issues beyond the roof. This might include chimney flashing, ventilation, or underlying structural concerns. If those are overlooked, problems could arise after the new roof is installed. The contractor should also help schedule the project during favorable weather.
Tear-Off and Inspection of the Old Roof
The first active step in the process is removing the old roofing material. This involves tearing off shingles, underlayment, and sometimes flashing to expose the roof deck. Once the roof is stripped, the crew checks for damaged wood, rot, or other issues that need repair. In Westfield, where weather can be rough on roofs, this inspection is especially important.
A professional crew will remove debris and use magnetic tools to pick up nails around the home. This protects both the property and the people living there. The contractor may also review the findings from the inspection and confirm whether additional repairs are needed before installation begins.
Installing Underlayment and Flashing
Once the surface is clean and sound, underlayment is applied to create a water-resistant barrier. This layer helps protect the roof deck from moisture, especially during heavy rain or snow. After that, flashing is put in place around valleys, vents, and chimneys to divert water away from weak spots.
Contractors may also add ice and water shields in spots where leaks are more likely. These self-adhering materials give extra defense in colder seasons. Some homes may need ventilation adjustments at this stage to improve airflow and prevent moisture buildup in the attic.
Shingle Installation and Final Touches
With the prep work complete, it’s time for the shingles to go on. This is the most visible part of the job and gives the home a fresh, updated appearance. Shingles are applied in overlapping layers, starting at the base and working upward. The crew uses chalk lines and starter strips to keep everything aligned. Vents, ridges, and edges are sealed with specialized materials to prevent leaks.
Once the shingles are in place, the team finishes the detailed work. This includes ridge caps, final sealing, and trimming any excess material. A final inspection ensures everything was installed correctly and meets building codes. With everything in place, the home is ready for years of protection.
What to Expect After Installation
After the work is done, a reliable contractor will walk the homeowner through the results. In Westfield, roofs undergo plenty of seasonal changes, so knowing when to check things can be helpful.
Here’s what happens after the job wraps up:
- Warranty paperwork is issued
- Final cleanup is reviewed
- Home ventilation is checked
- Gutter guards or drip edges may be installed
A new roof is more than just shingles; it’s a full system that works to protect the home. A quality replacement means fewer worries and greater peace of mind in Westfield.
Replacing a roof involves more than just removing old shingles and putting on new ones. A proper roof replacement in Westfield, Massachusetts, is a detailed process that demands planning, skill, and care at every step. A well-built roof is essential in a place like Westfield, where homes face all types of weather. With the right approach and team, the process is smooth and rewarding. It’s a smart investment that pays off for years.