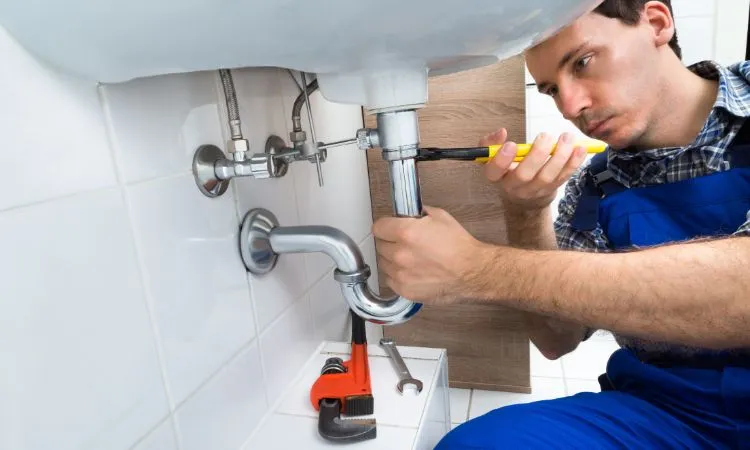
The bottle trap forms an indispensable part of contemporary plumbing – primarily engaging in the concealment of smells and sewer gases within the confines of the residence. It is fixed underneath the sink, which serves as a reservoir of water and debris and prevent the entry of air through the drain. In the available types of traps, the bottle trap remains popular because of its size and efficiency in installation. Visit our website https://www.plumbersingapore.org/our-services/ if you want a bottle trap installed on your kitchen sink by a plumber.
Overview of a Bottle Trap
A bottle trap is a plumbing fitting generally placed under sinks in kitchens. Bottle traps can also be used in bathrooms and sometimes in toilets to perform the intended purpose.
Preparing to Install
You can install bottle trap yourself easily, and if you need help visit https://www.plumbersingapore.org/kitchen-sink-bottle-trap-installation-replacement/ and follow the steps. To proceed with the installation, the following tools and materials should be collected first:
- Bottle trap kit (can be composed of the trap body, connectors, and washers)
- Pipe wrench or an adjustable wrench
- Screwdriver (if necessary)
- Plumber’s tape
- PVC pipe (in case of custom fitting)
- 1 bucket or a towel (for residual water if any)
Step-by-Step Installation
Step 1: Shut Water Supply Off
Every time there is plumbing fittings to be done, it is a requirement that the water supply to the sink is cut off. Most kitchens do have the supply shut off valves underneath the sinks.
Step 2: Removing Old Trap
In case you are planning to replace an existing trap, the first step will obviously be the removal of the old one. Use a pipe wrench or an adjustable one to remove the nuts that fasten the trap. After that, carefully remove the old trap.
Step 3. Put Together the Bottle Trap.
Now, take your bottle trap kit and open it to get familiar with its contents. Most kits consist of a cylindrical body of the trap, some washers and connecting pipes. Start by putting the washers in place and make sure they are well positioned to avoid leakages.
Step 4: Connect the Trap to the Sink Drain
To connect trap with sink, start by attaching the top of trap with drainpipe coming from sink. Most bottle traps are made of right sizes to fix in standard drain pipes, but sometimes, you may need an adapter or a PVC pipe to fit the trap correctly.
Step 5: Connect the Trap to the Waste Pipe
Next, the bottom of the trap shall be linked with the waste pipe traveling backward to the plumbing system. Make sure slip nuts are properly tightened. Then ensure the trap is aligned properly so that there are no slopes for water to pool in.
Step 6: Test the Installation
Finally, after the trap has been installed, turn on the water supply and look closely at all the connections for any leaks. If you see water dripping, turn off the faucet and either tighten the slip nuts or put on more plumber’s tape on the threads. A properly positioned bottle trap allows drainage but contains the odour.
Step 7: Clean Up
After ensuring that the installation has been successfully done without any leak, and there is no functional problem, gather the tools and materials. Safely discard the old trap and any leftover water or debris. Clean the space behind the sink, and recheck all joints.
Conclusion
While putting in a kitchen sink bottle trap may seem painstaking to some, a few good tools, a bit of preparation, and a couple of hours down the line, most homeowners should be able to handle this one without a professional’s help. This modern plumbing fixture not only assists with drainage but also prevents any unpleasant smells wafting through the kitchen. Just follow these simple steps to install a bottle trap within a short period of time without compromising the design of the kitchen sink and aiding in its functionality.


